Deploy a Pre-trained scispaCy Model
| This article uses a pre-packaged model, which you do not need to download to deploy. To use the pre-packaged model, skip to Deploy model to Fusion. The section Create the model describes how to complete this process on your own. |
Create the model (OPTIONAL)
| Skip this section to use the pre-packaged model. |
-
Download the
scispacy.ipynbfile and open it in Jupyter Notebook (or a similar alternative). -
Follow the steps in the notebook, substituting your custom values as needed.
Deploy model to Fusion
-
Navigate to Collections > Jobs.
-
Click the Add button.
-
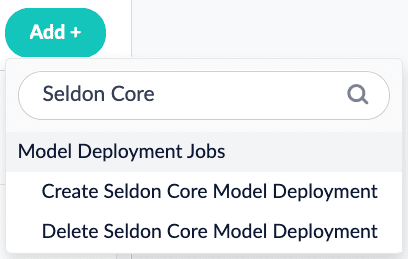
Select the Create Seldon Core Model Deployment under Model Deployment Jobs.
-
Enter the values for your model deployment. If you are using the pre-packaged model, use the following values:
Parameter Value Jobs ID
scispacymodel-seldon-deploymentModel Name
scispacymodelDocker Repository
shahanesanketImage Name
scispacymodel-grpc:1.0Output Column Names for Model
[entities]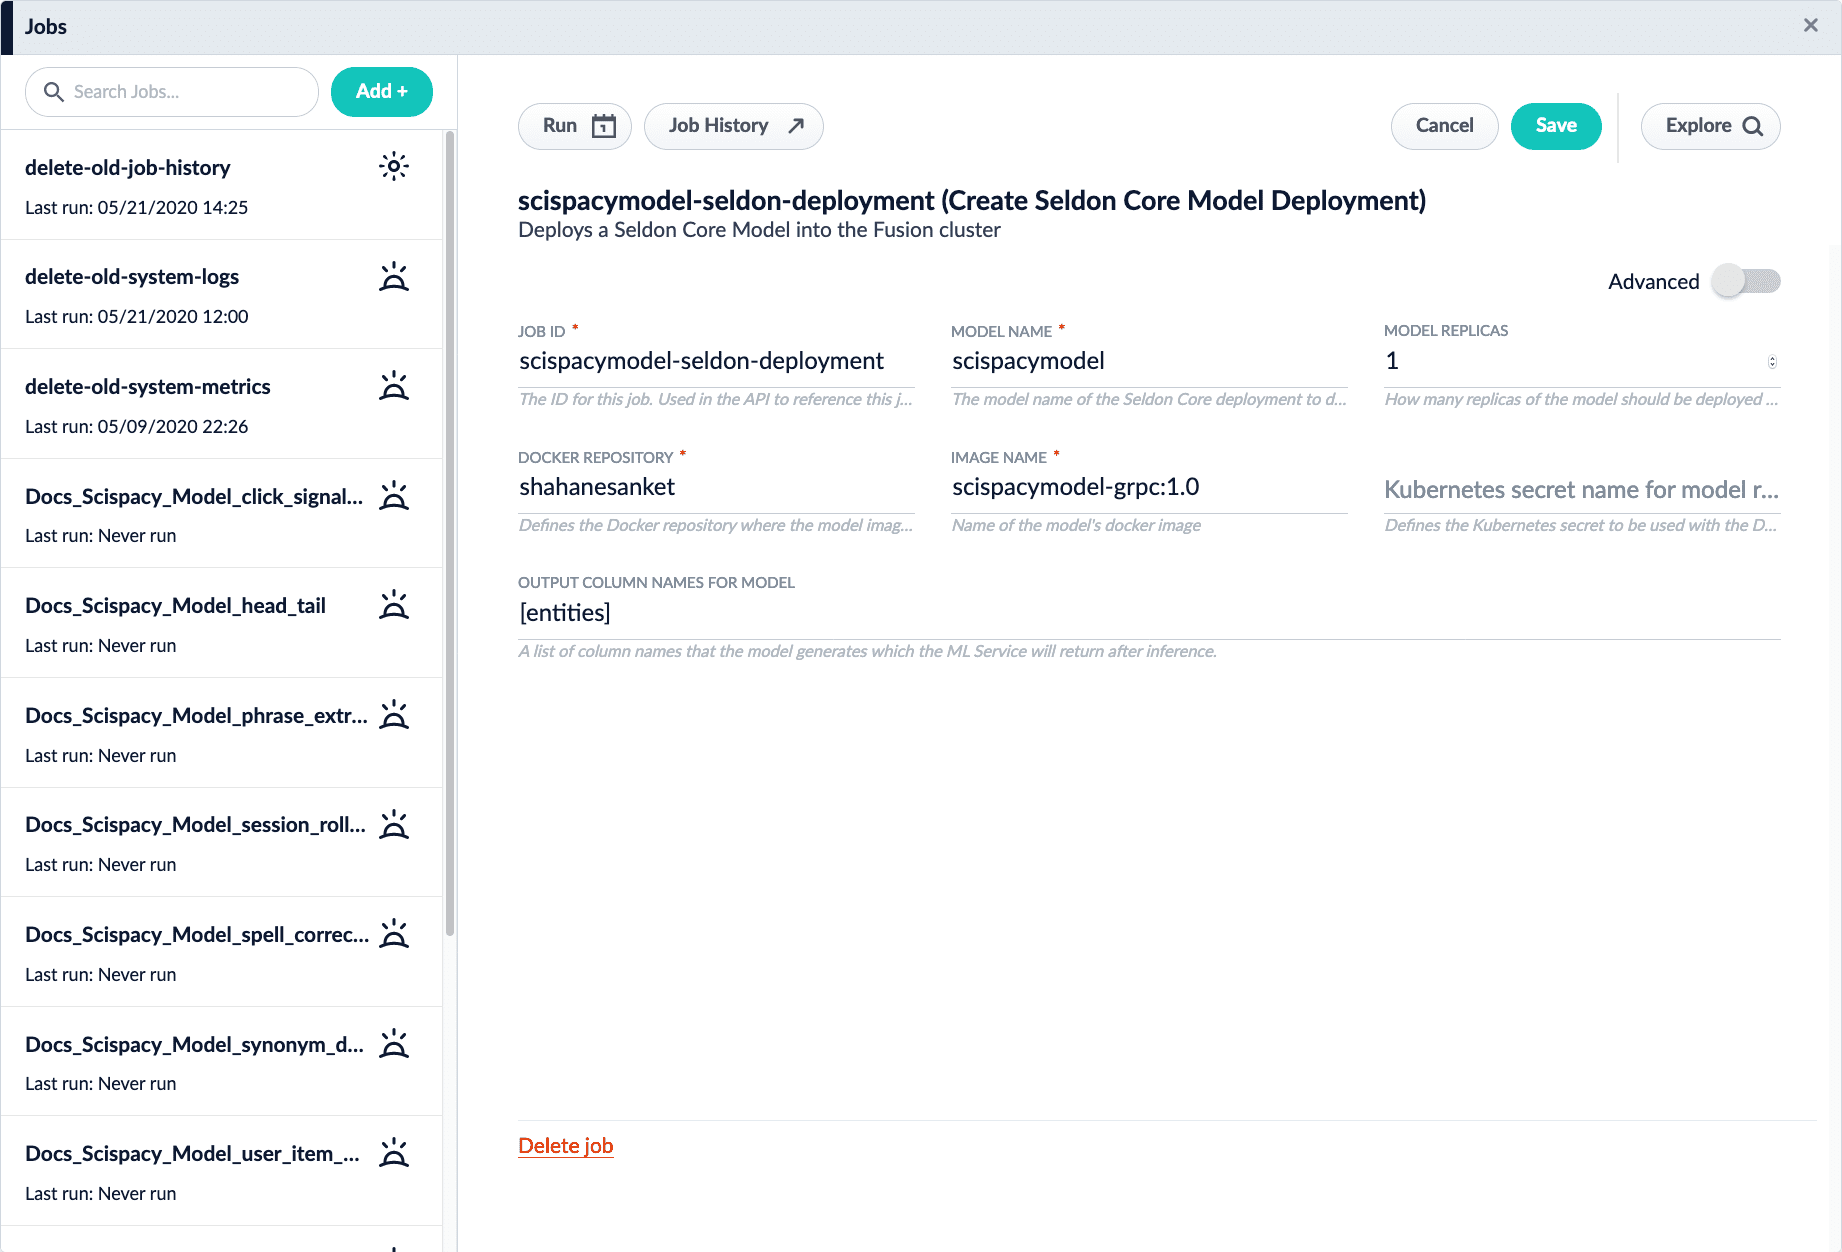
-
Run the job by clicking Run and selecting Start.
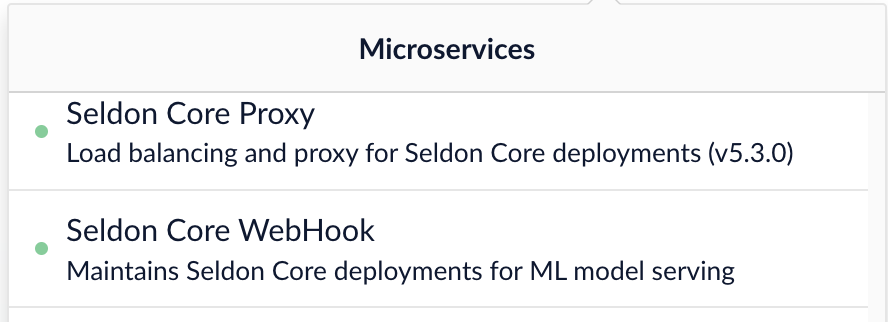
When the job completes successfully, the model is deployed. Check the list of microservices to verify:
Import sample data
-
Download and save the sample data file
sampleJSON_body_content.csv. -
Navigate to Indexing > Datasources.
-
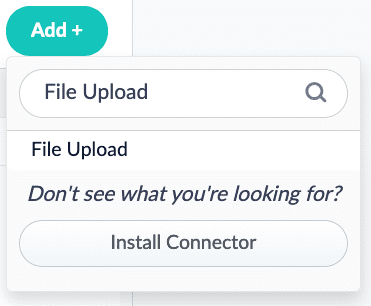
Click the Add button and select File Upload.
-
Click Browse, select the
sampleJSON_body_content.csvfile, and click Open. Click the Upload File button to complete the upload process. -
Assign a value to the Datasource ID parameter. This article uses the ID
sample-data.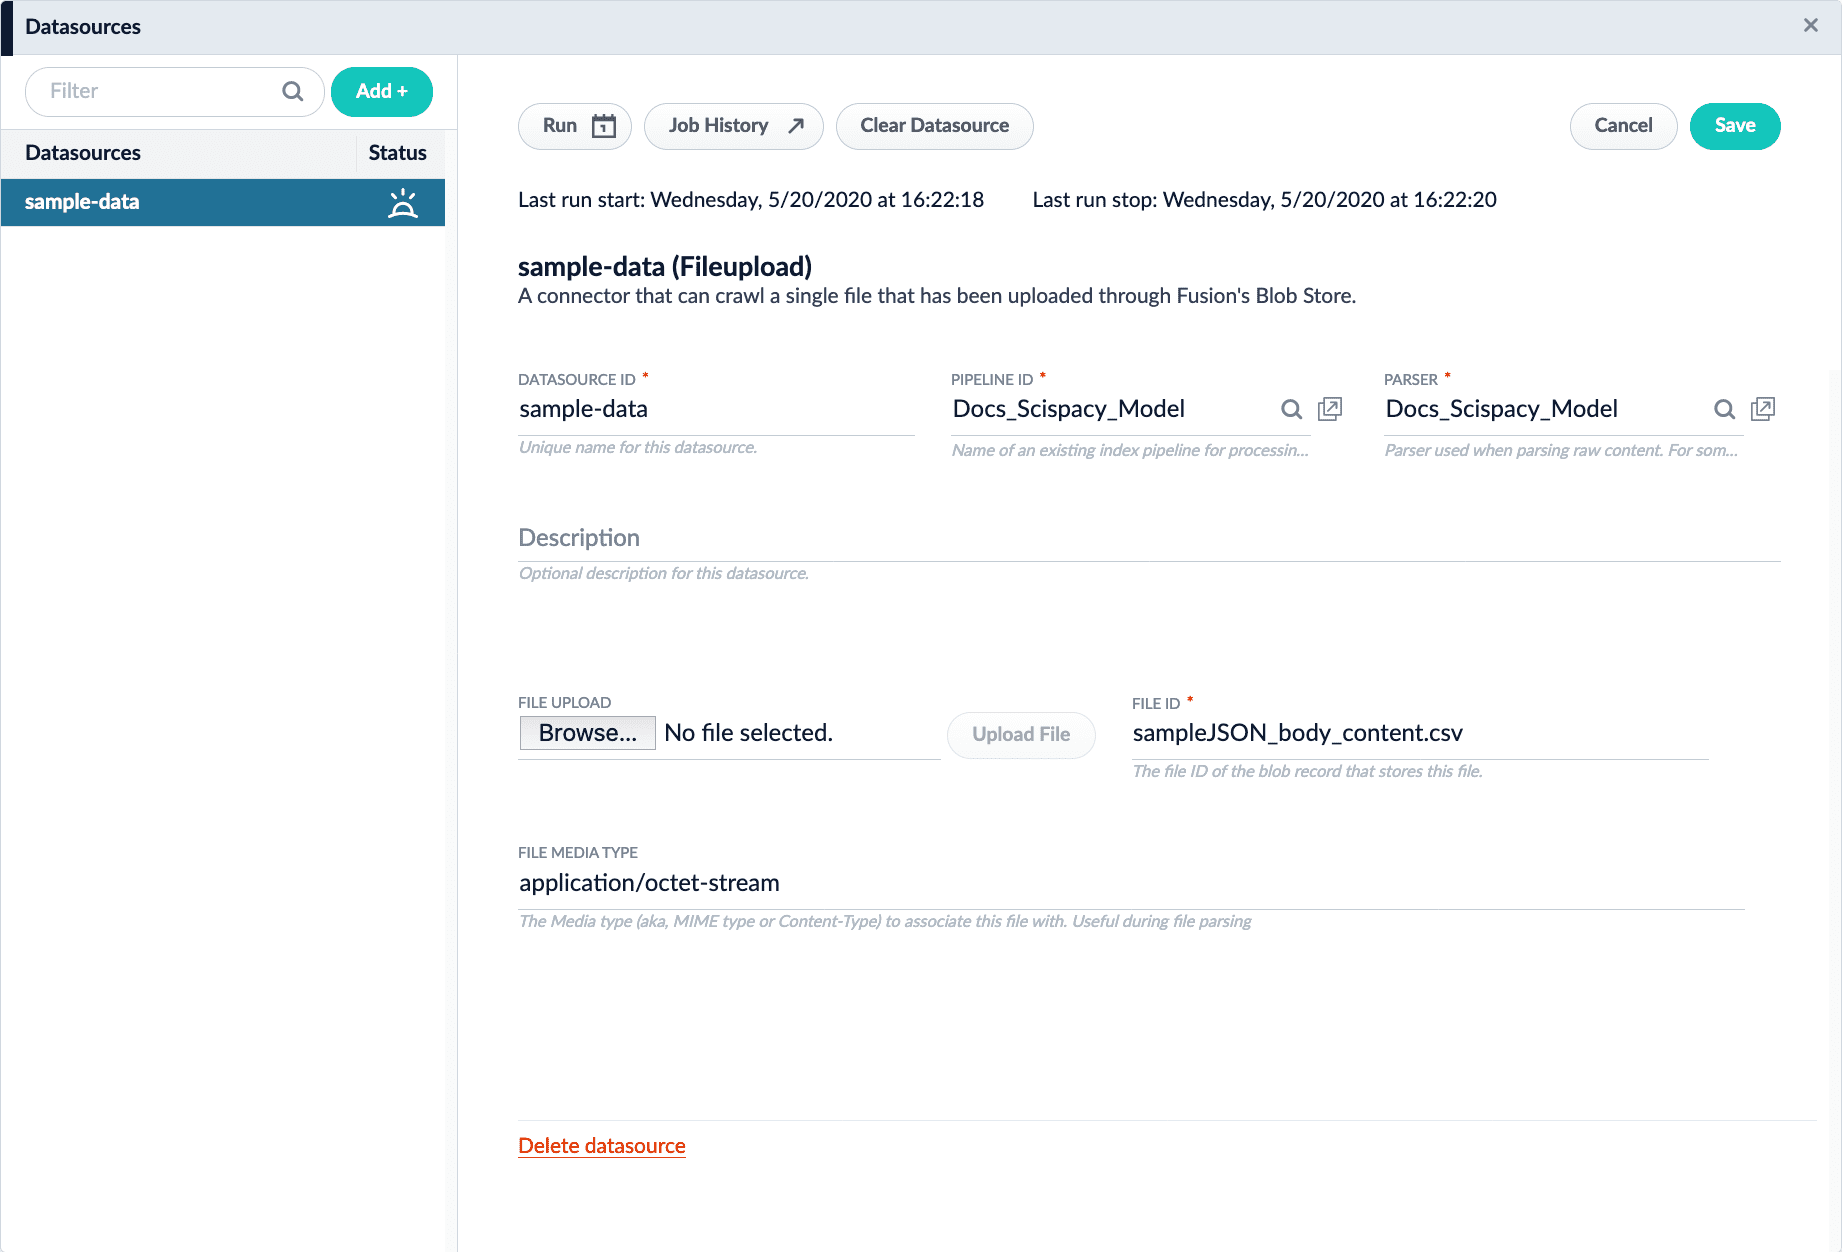
-
Click the Save button.
Create a Machine Learning stage in the Index Workbench
-
Navigate to Indexing > Index Workbench.
-
Click the Load button.
-
Choose the datasource you created.
-
Click the Add a Stage button.
-
Choose the Machine Learning stage.
-
In the Model ID field, enter
scispacymodel. -
In the Model input transformation script field, enter the following script:
var modelInput = new java.util.HashMap() var list = new java.util.ArrayList() list.add(doc.getFirstFieldValue("body_t")) modelInput.put("text", list) modelInput -
In the Model output transformation script field, enter the following script:
doc.addField("entities_ss", modelOutput.get("entities")) -
Click the Apply button.
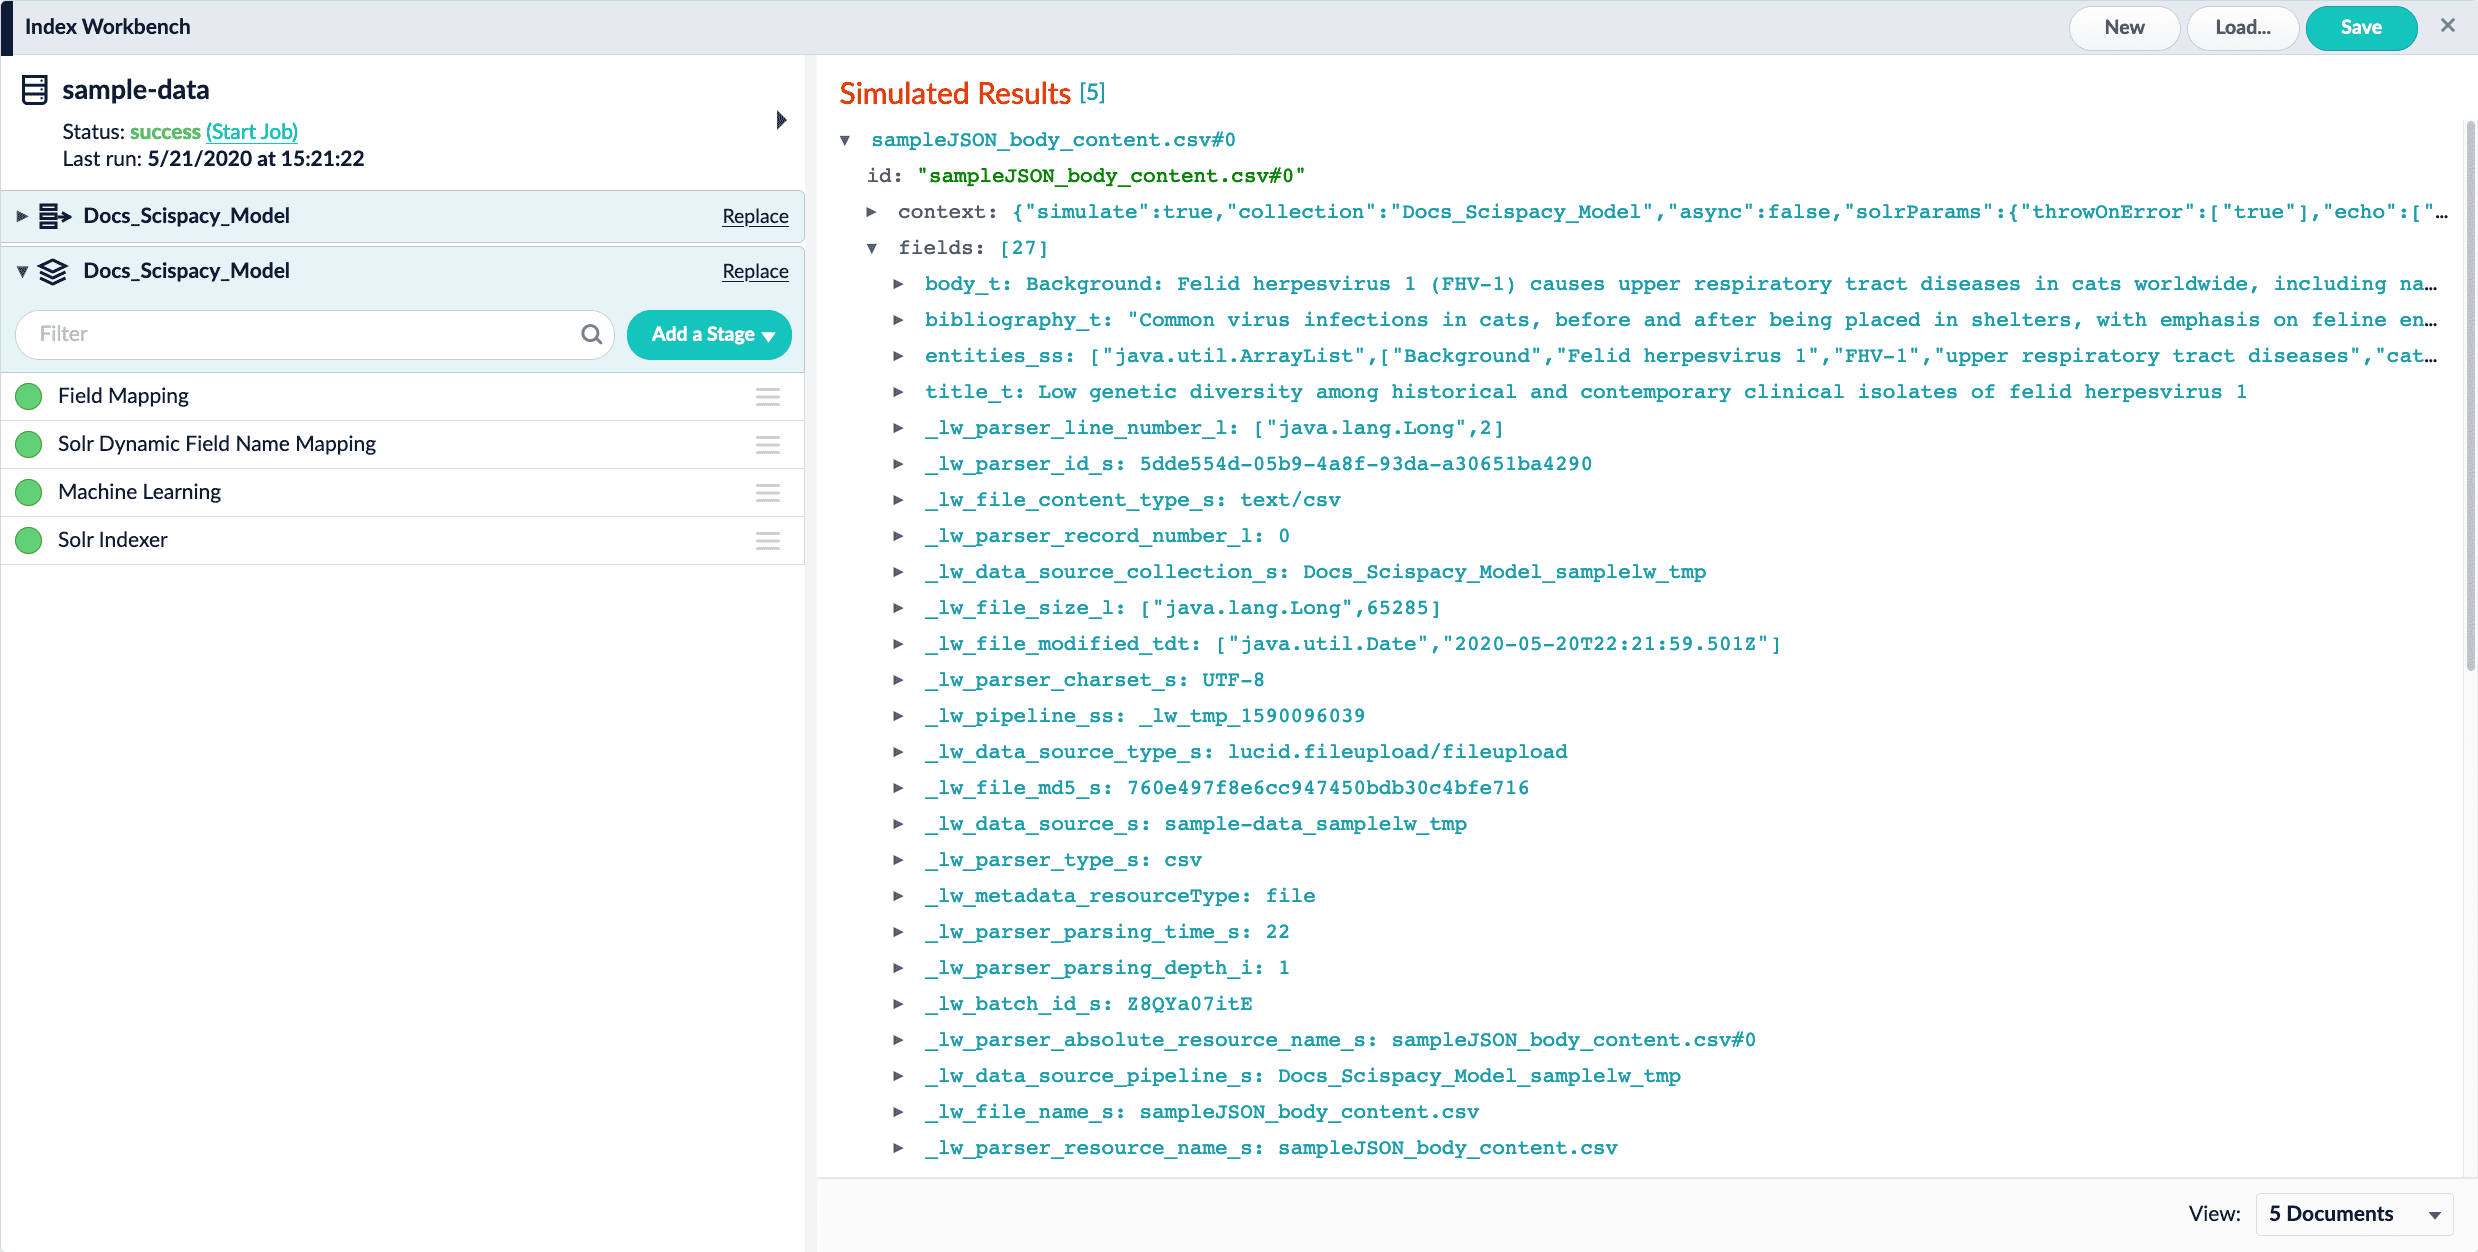
Verify results
-
Click the Start Job button, and allow the job to finish.

-
Check the simulated results. If everything was successful, the results will resemble this: